
DIY Lawn Edging: A Guide to Creating Clean and Defined Garden Borders
How to Install Lawn Edging: A Simple DIY Guide
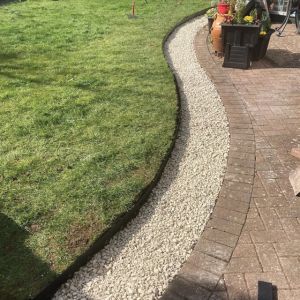
Lawn edging is a great way to give your garden a polished, professional look. It creates a clean line between your lawn, garden beds, and walkways while helping to keep grass and weeds where they belong. Whether you’re using plastic, metal, stone, or wood, installing lawn edging is a fun weekend project that adds structure and style to your landscape.
What You’ll Need
- Edging material (plastic, metal, stone, etc.)
- Garden spade or edging shovel
- Measuring tape
- Stakes and string (or a garden hose for curves)
- Hammer or mallet
- Level
- Gloves
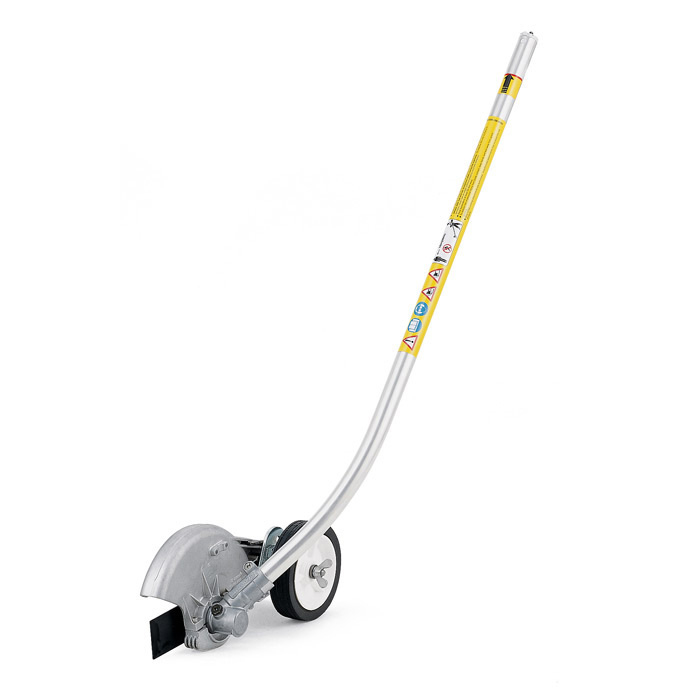
- Optional: sand or gravel for stone/bricks, landscape fabric for weed control, or powered edging tools like the STIHL FCB-KM.
Step-by-Step Instructions
1. Plan and Mark the Edging Line
Lay out the path of your edging using a string and stakes for straight lines, or a garden hose for curves. Mark the line clearly with spray paint or by scoring the ground.

2. Dig the Trench
Dig a trench along your marked line using a spade, edging shovel or powered edging tool. The depth and width should match your edging material—typically 4–6 inches deep for plastic or metal, and deeper for stone or brick.

3. Prepare the Base (if needed)
For stone or brick edging, add a 1–2 inch layer of sand or crushed gravel to the trench and tamp it down. This helps with leveling and drainage.
4. Install the Edging
Place your edging into the trench. Make sure it follows the intended shape and sits at the desired height—flush with the ground or slightly raised. Use a level to ensure it’s even.
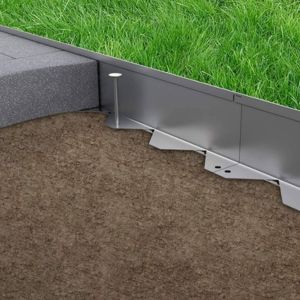
5. Secure the Edging
Use stakes or connectors as needed. For flexible edging, bend into curves and stake it every few feet. For bricks or stones, make sure each piece fits snugly with the next.
6. Backfill and Clean Up
Backfill the trench with soil, tamp it down firmly, and water lightly to settle. Rake and clean up the surrounding area for a tidy finish.
Related Product


Milwaukee Quik-Lok M18 FOPH2-802 2nd Generation Power Head Kit (Inc. 2x M18 Forge 8Ah batteries & Charger)
£545.00 (Inc VAT)
In Stock
Product Link